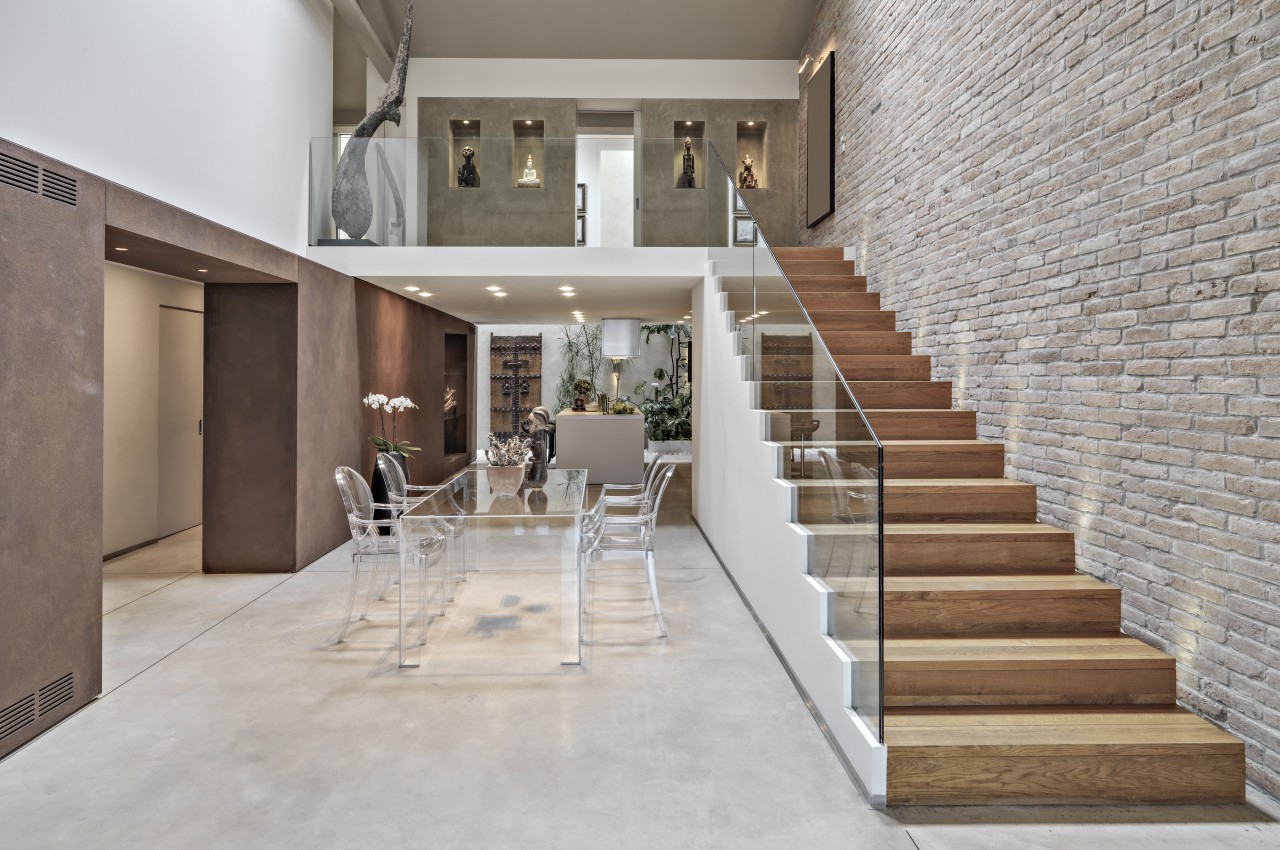
interior shots of a modern loft, in foreground the dining table with its chairs to whose right there is a wooden staircase the walls are covered of bricks
Stairs are important in buildings because they help people move safely between floors. They come in many styles and sizes, allowing for different types of staircases that fit well with their surroundings. Discover 10 types of staircase options and choose the one that is best suited for your home.
Image courtesy of: adpephoto
1. Straight Stairs
Image courtesy of: wirestock
Image courtesy of: pro_creator
In a straight staircase, there’s a continuous direction without any turns, making it ideal for both residential and commercial properties. If the staircase is lengthy, it’s crucial to break the flight of stairs to facilitate climbing. Having a platform in the middle of the staircase is strongly advised, particularly when the distance to the floor exceeds 12 feet. Straight stairs are typically the most convenient for ascending and descending, favored for their ease of construction, and particularly suitable for minimalist residences. A downside is that straight stairs occupy linear space, requiring careful consideration in design planning.
2. L-Shaped Stairs
Image courtesy of: bilanol
The L-shaped staircase is a variation of the straight staircase, with a bend achieved by adding a landing, typically forming a 90-degree angle, though not necessarily. When the landing is closer to either end, it’s sometimes termed a long L staircase or a quarter-turn staircase. L-shaped stairs offer increased visual appeal and privacy due to the inclusion of a central landing, enhancing safety by reducing the number of steps in each flight and providing a resting spot before continuing the ascent, contrasting favorably with straight stairs. In an L-shaped staircase, a landing requires support, while modern homes often opt to expose the stair structure to enhance space openness.
3. U-Shaped Stairs
Image courtesy of: wirestock
U-shaped stairs comprise two parallel flights of straight stairs that are connected by a landing, forming a 180-degree turn in the walking path. One of the biggest advantages of U-shaped stairs is that they can be integrated easily into the architectural design of the building, along with their ability to provide substantial visual appeal. Additionally, these stairs feature a landing that serves as a resting point within the staircase structure that ensures comfort while climbing up and down the stairs.
4. Winder Stairs
Image courtesy of: LightFieldStudios
Designer: Royal Oak Railing & Stair Ltd.
Winder stairs, an alternative to the L-shaped configuration, feature triangular steps at corner transitions instead of flat landings. This design advantageously suits compact spaces, occupying less area, thus gaining favor in contemporary residences and sustainable home designs. However, caution is necessary while ascending these triangular treads due to their increased risk of tripping.
5. Spiral Stairs
Image courtesy of: bialasiewicz
Image courtesy of: Mint_Images
Image courtesy of: antonytrivet
Spiral stairs feature a compact design, following a helical arc where treads radiate around a central pole. They are ideal for space-constrained environments like city lofts, maximizing space efficiency. The railing significantly contributes to the stair’s aesthetics. Note that the central pole and landing offer structural support, simplifying installation compared to other stair types. However, navigating spiral stairs can be challenging, especially with a smaller diameter. Moving large items up or down is cumbersome, and only one person can ascend or descend at a time.
6. Curved Stairs
Image courtesy of: wirestock
Similar to spiral stairs, curved stairs also follow a helical arc, but with a larger radius that doesn’t complete a full circle. Curved stairs exude elegance and are best situated at entrances, leaving a striking first impression, particularly complementing contemporary and transitional style homes. With a large radius, climbing becomes more manageable, yet construction proves challenging and costly.
7. Cantilever Stairs
Image courtesy of: Mint_Images
Image courtesy of: anontae2522
Cantilever stairs give the impression of floating without visible support, with the stair stringer affixed to one end of the treads, which can either be concealed or exposed. They introduce intrigue and a sense of spaciousness to any space, offering a distinctive visual appeal. Enhancing the room’s openness and aesthetic, cantilever stairs require meticulous design to accommodate the necessary support system capable of bearing the staircase’s weight. However, their construction entails considerable expense due to the added structural demands.
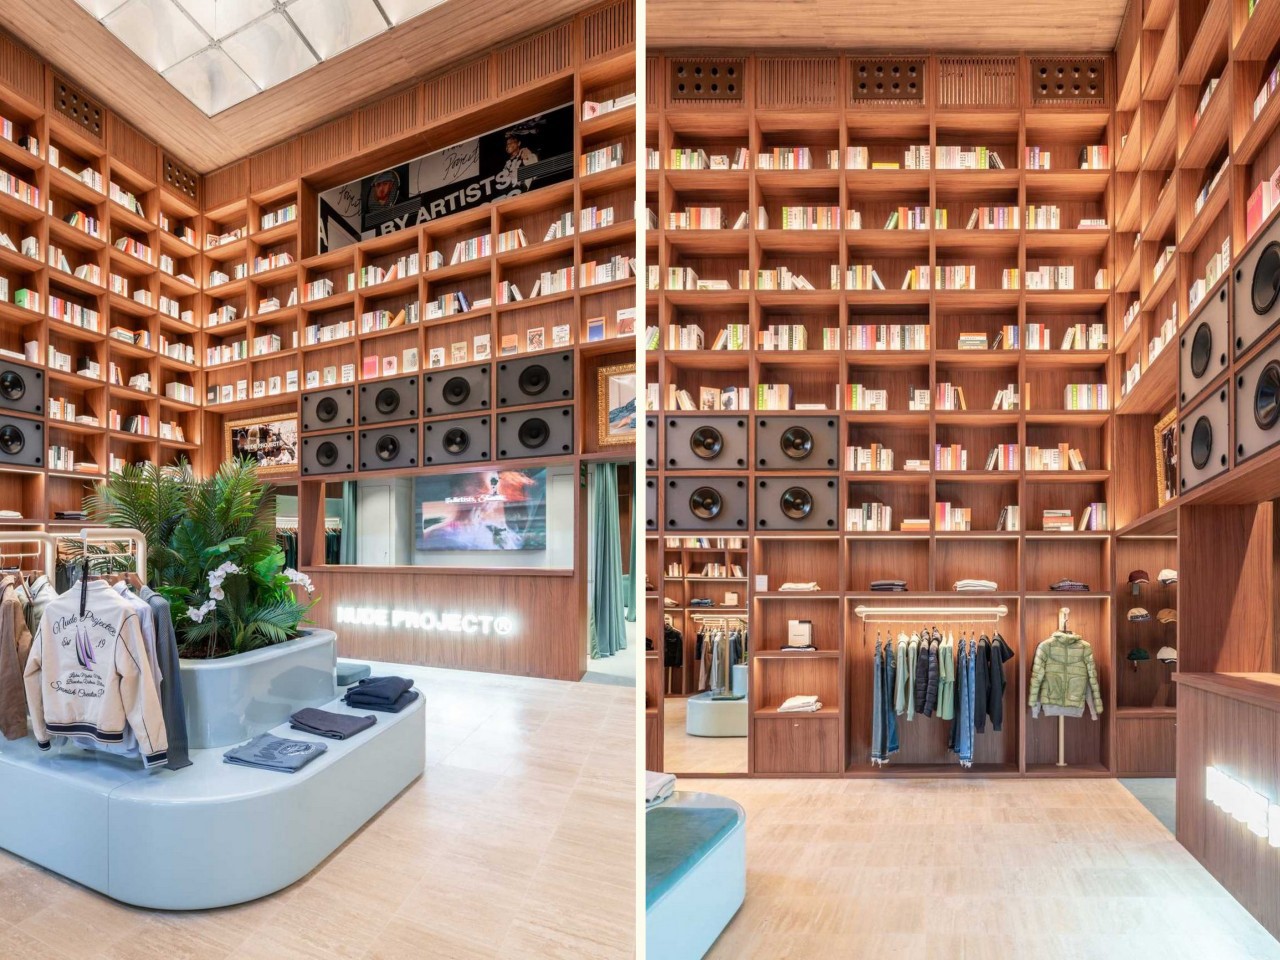
8. Ladders
Image courtesy of: pro_creator
Image courtesy of: pro_creator
Ladders, akin to stairs, provide access, although they typically serve as secondary means of access. Commonly found in libraries and lofts, ladders offer a compact solution for vertical movement between floors, proving cost-effective. Some ladders even feature wheels for convenient removal when not in use and they are perfect for accessing shelves within double-height spaces. However, ladders pose greater difficulty in navigation compared to stairs, particularly during descent.
9. Split or Bifurcated Stair
Image courtesy of: wirestock
Split stairs, also known as bifurcated stairs, typically begin with a wide set of stairs at the bottom, leading to a landing partway up the flight. From this landing, the stairs divide into two narrower sets, each going in opposite directions. This design allows one staircase to serve dual purposes, providing access to different sections of the building and facilitating easy access to both ends of the upper level. Split stairs make a striking architectural statement, often seen in grand entries of large homes or commercial buildings, suitable for both interior and exterior settings. However, they require a significant amount of space, which should be considered during the building’s design process.
10. Open Well Stair
Image courtesy of: Daemaine
The open well staircase earns its name from the space or “well” between the balustrades. Despite its extravagant use of space, when designed properly, it can make a grand statement in a home. It provides visual connectivity from the topmost level to the bottom level, irrespective of the number of floors it spans. One disadvantage is that an open staircase can be risky in the event of a fall. Additionally, open-well staircases also require a significant amount of space, hence, if you’re considering installing one in your residence, ensure you have sufficient room to construct it without it feeling cramped.
What are the different staircase materials?
Some of the common materials that are used for constructing a staircase include wood, concrete, glass, metal, and bamboo:
Wood
Image courtesy of: pro_creator
Wood remains a timeless choice for stairs, providing a cozy and traditional atmosphere to the décor. Common materials for staircases include teak, oak, maple, and mahogany. Due to the high cost of wood, it is highly recommended to consider laminate or engineered wood as more budget-friendly alternatives. Note that these two options of wood are made with composite layers of wood veneer or laminate finish that is durable and aesthetically pleasing too.
Concrete
Image courtesy of: Daemaine
Concrete, known for its durability and strength, is ideal for modern and industrial-style staircases. It can be poured and shaped into different forms and finishes, like polished concrete or textured surfaces. Additionally, the surface can be covered or clad with marble, limestone, granite, or tiles once the staircase is complete. It offers an elegant touch to the staircase design.
Metal
Image courtesy of: OlgaMurasheva
Metal staircases offer a modern and streamlined look and materials like steel, iron, or aluminum are commonly used for the structural framework, supports, and balusters. Metals pair well aesthetically with wood or glass elements, enhancing the overall appearance.
Glass
Image courtesy of: BGStock72
Glass staircases exude a contemporary and elegant vibe, enabling light to permeate the area and create a feeling of spaciousness. Make it a point to utilize tempered or laminated glass for the treads, balustrades, or railings to ensure safety and durability.
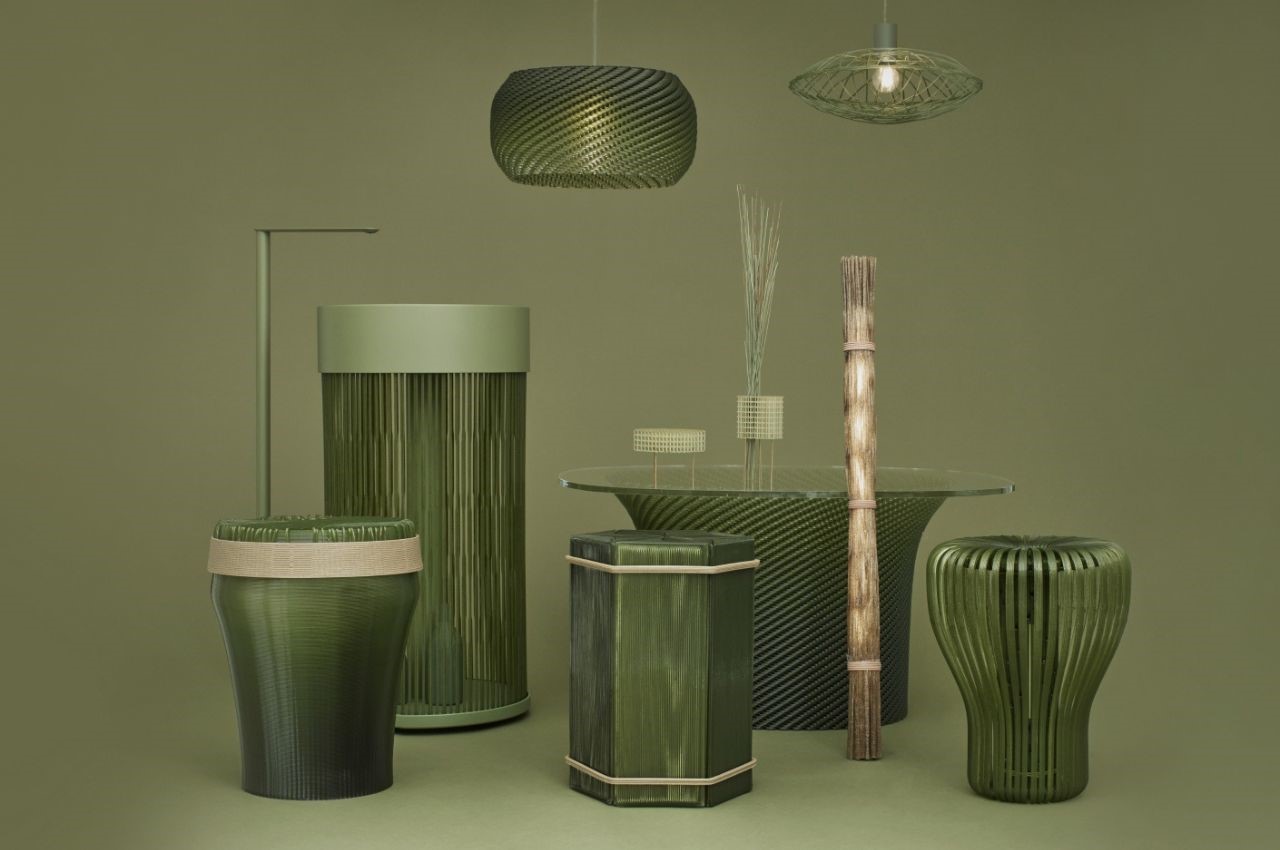
Bamboo
Image courtesy of: photovs
Bamboo stands out as an environmentally friendly and sustainable choice for both staircase steps and railings. It offers a highly sustainable and budget-friendly option.
The post The Ultimate Guide to Staircase Types: 10 Designs to Inspire Your Next Renovation first appeared on Yanko Design.